Shepherd’s Hut Breaks with Fishing Lakes on Site
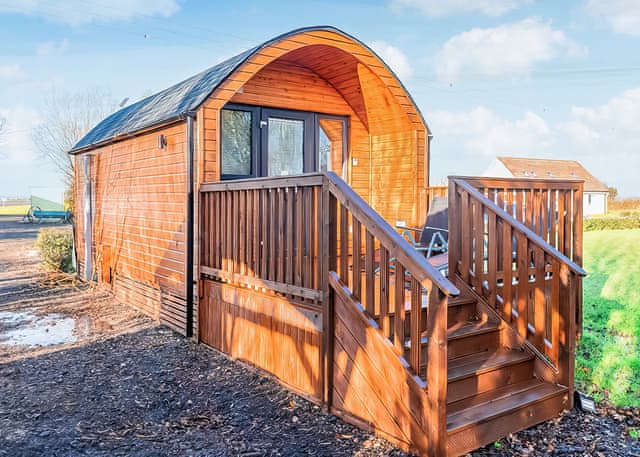
Cross Keys Shepherd Huts (Crosskeys Farm) – Lincolnshire
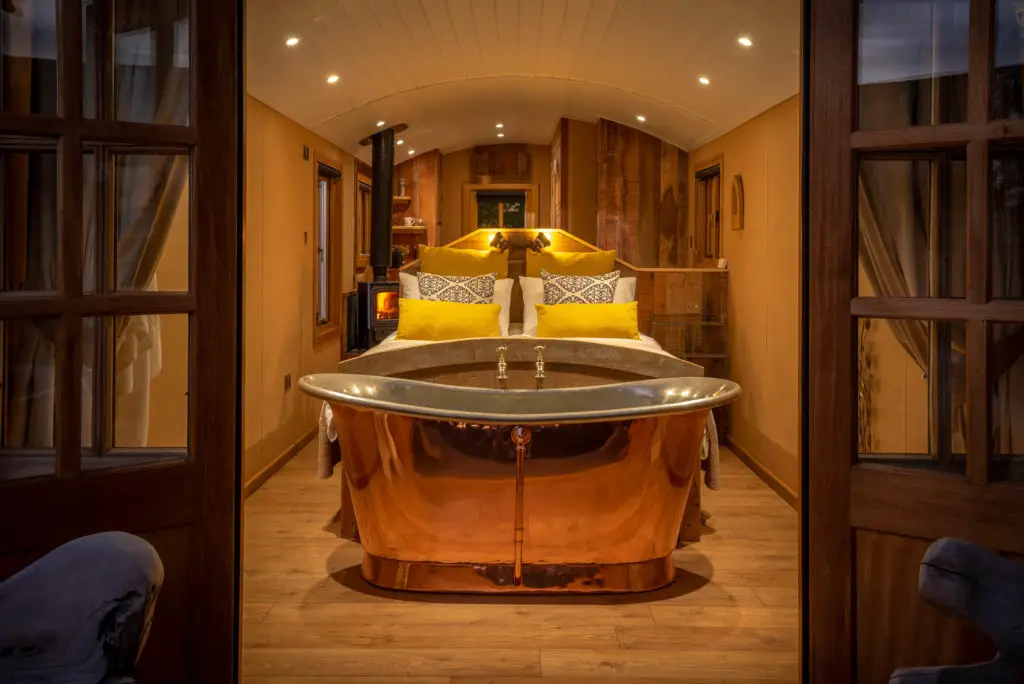
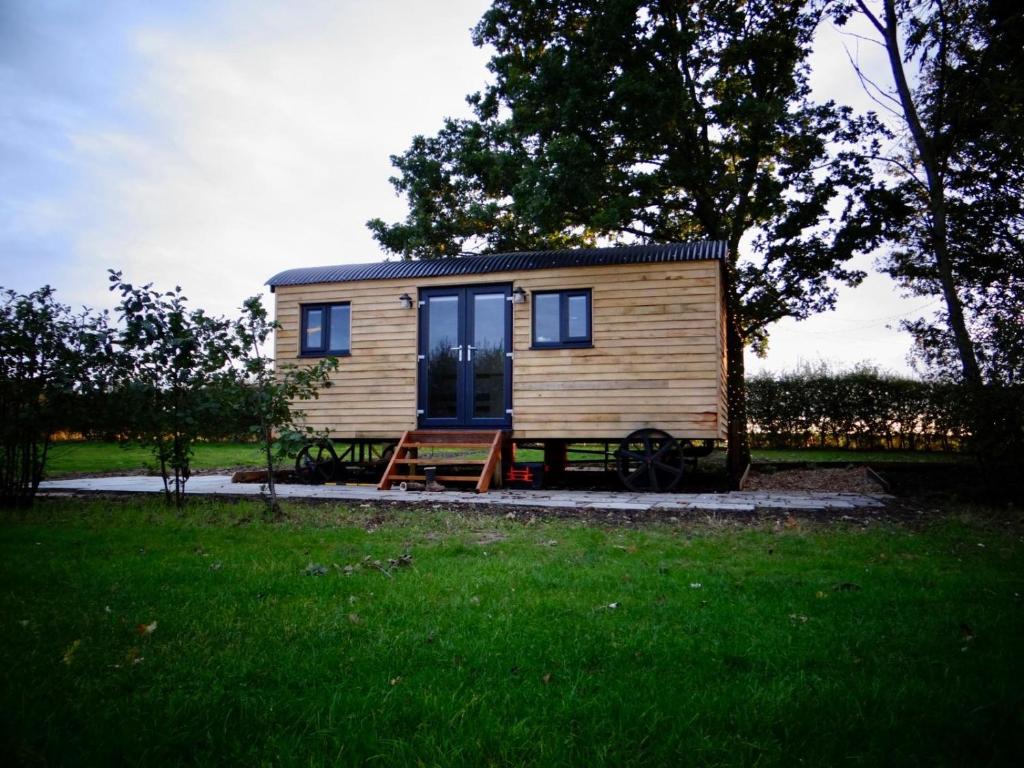
Cross Keys Shepherd Huts is a boutique glamping site with beautifully styled huts set around private fishing lakes. It’s a strong option for couples who want a peaceful waterside stay where you can wake up to lake views and spend time fishing without leaving the site.
- Accommodation: Luxury shepherd huts set by the water with comfortable self-catering features.
- Area: Rural Lincolnshire near Spalding, good for a quiet break with easy access to local towns.
- Fishing lake: Huts are nestled around private fishing lakes on site.
Address: Cross Keys Farm, Quadring Bank, Quadring, Spalding , Lincolnshire, PE11 4RE
Website: https://www.crosskeysshepherdhuts.co.uk/
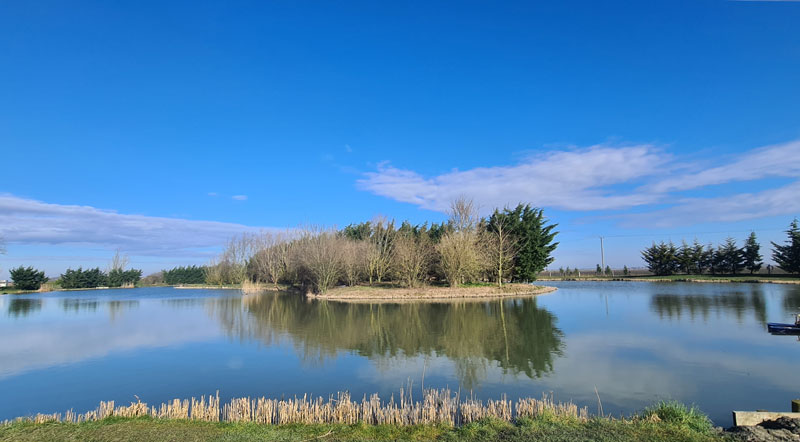
Hastingford Fishery Shepherd’s Huts– East Sussex – Private Swims
Hastingford Fishery combines lakeside shepherd huts with a family-run fishery, making it ideal for anglers who want proper fishing lakes and a relaxed countryside stay. The huts sit on the lakes, and the setting is known for wildlife, views, and a calm, rural feel.
- Accommodation: Cosy lakeside shepherd huts positioned around the fishery, named roac, carp, tench and perch hut!
- Area: Sussex countryside near Uckfield with day trips to the South Downs and coastal attractions.
- Fishing lake: Multiple spring-fed coarse lakes on site, plus a wild swimming lake.
Address: Hastingford Lane, Hadlow Down, Nr Uckfield, TN22 4DY
Website: https://www.hastingfordfishery.co.uk/
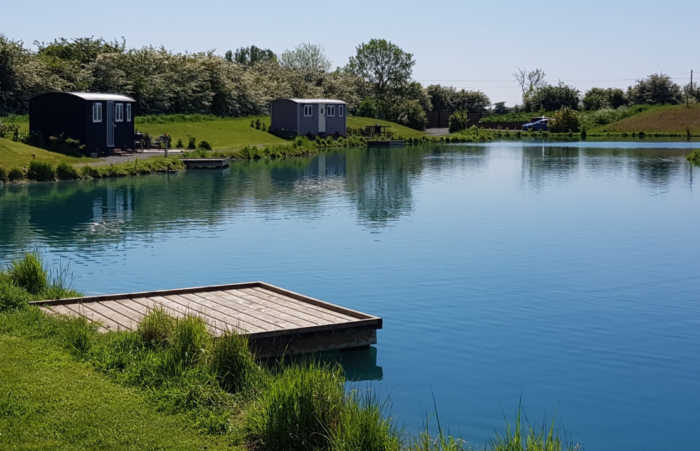
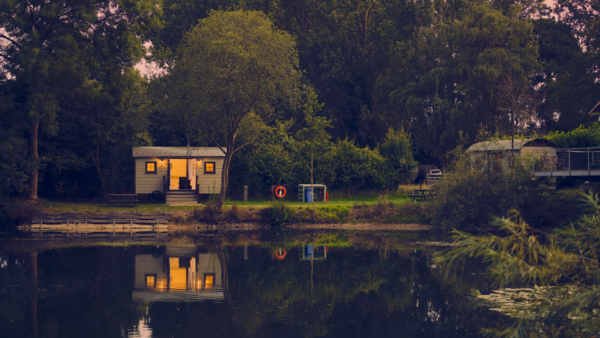
Fen View Lakes Shepherd’s Huts – Cambridgeshire Fens
Fen View Lakes offers modern shepherd’s huts placed right on the bank of one of their fishing lakes, designed for relaxed fishing getaways. It’s a great match if you want a clean, comfortable hut with direct access to the water and a peg close by.
- Accommodation: Modern shepherd’s huts designed for couples with practical self-catering facilities.
- Area: Rural Cambridgeshire fenland with big skies, sunsets, and quiet country lanes.
- Fishing lake: Huts are located on Snake Lake with fishing access on site.
- Lodges – The Catherdal Lake has a number of fishing lodges with private swims for specimen carp fishing
Address: Head Fen, Drove, Little Downham, Cambridgeshire, CB6 2ER
Website: https://fenviewlakes.co.uk/shepherds-huts/
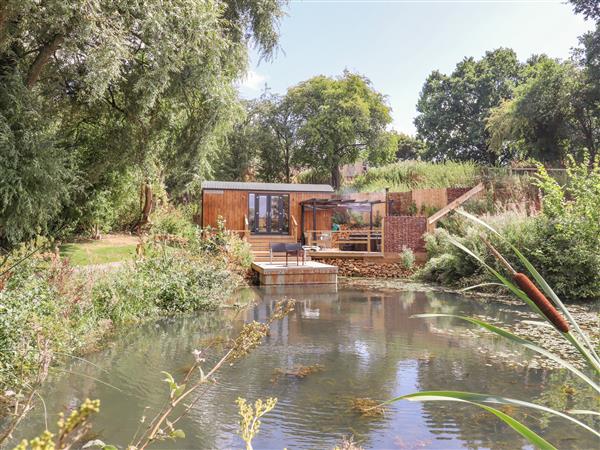
Westfield Fishery Shepherd’s Huts – Medmenham Buckinghamshire – Specimen Carp Fishing
Westfield Fishery is a private carp and coarse venue that offers shepherd’s hut accommodation right beside the lake. It’s built for anglers who want an easy stay on site, with fishing as the main focus and the lake just steps away.
- Accommodation: Two shepherd’s huts placed alongside the fishery lake for overnight fishing breaks.
- Area: Chiltern Hills setting near the River Thames, ideal for a countryside escape.
- Fishing lake: Private fishing lake with carp to 33lb and pike to 20lb. A specimen hunters dream stay.
Address: Westfield Farm Henley Road Medmenham Buckinghamshire SL7 2HE
Website: https://westfieldfishery.co.uk/accommodation/
The Shepherds Hut at Bridge Lake Farm & Fishery – Chacombe Oxfordshire
Bridge Lake Farm & Fishery is a fishing-focused rural escape where accommodation sits right beside the water. The shepherd’s hut stay is ideal for a short carp or coarse fishing break where you can stay on-site and keep things simple.
- Accommodation: Shepherd’s hut stay suited to couples, set up for a comfortable glamping-style break.
- Area: Oxfordshire countryside near Banbury with quiet lanes and classic rural scenery.
- Fishing lake: On-site fishing lake as part of the fishery complex. Some huts have a private raised fishing peg in front.
- Lodges: 2 person lodges with hot tubs are also available on site
Address: Wardington Road, Chacombe, OX17 2JU
Website: Booking.com listing
Llandegla Fishery Shepherd’s Hut – North Wales – Coarse & Trout Fishing
Llandegla Fishery offers a shepherd’s hut stay as part of a well-known Welsh fishery, making it ideal for anglers who want a simple base with fishing lakes on site. It also suits anyone who wants to combine fishing with walking or mountain biking.

- Accommodation: Shepherd’s hut glamping stay at a working fishery.
- Area: Welsh hills near Coed Llandegla, great for outdoor activity breaks.
- Fishing lake: Multiple stocked fishing lakes on site at the fishery.
- Other accomodation: The site also has lodges, glamping tents and a caravan and camping area
Address: Casgan Dittw, Ruthin Road, Llandegla, Wrexham, LL11 3AA
Website: https://www.llandeglafishery.com/accommodation-at-llandegla/shepherds-hut/
Hawton Waters Dragonfly Shepherd’s Hut – Newark Nottinghamshire
Hawton Waters offers a rustic shepherd’s hut alongside a carp lake, making it a good option if you want a lakeside stay with fishing available to overnight guests. It’s a relaxed setting that blends countryside downtime with proper lake fishing.
- Accommodation: A rustic shepherd’s hut as part of a small lakeside holiday site with luxury lodges and caravan pitches also available.
- Area: Nottinghamshire countryside near Newark with easy access from the Midlands.
- Fishing lake: Fishing on a large carp lake is permitted for overnight guests.
- Activities: Selected areas can be used for open water swimming and paddleboarding.
Address: The Grange, Cotham Lane, Hawton, Newark, NG24 3RJ
Website: https://www.hawtonwaters.co.uk/
Morndyke Shepherds’ Huts – Thirsk North Yorkshire – Dog Friendly
Morndyke is an award-winning shepherd’s hut glamping site on a working farm with a coarse fishing lake right next to the huts. It’s ideal for couples who want a luxury hut feel while still being close to proper on-site fishing water. Children are allowed on site over the age of 12.

- Accommodation: High-quality shepherd’s huts designed for comfortable adult-only stays. 5 on site, no other accomodation.
- Area: North Yorkshire near Thirsk, great for countryside exploring and local food spots.
- Fishing lake: A peaceful on-site coarse fishing lake beside the hut field. This is a 2 acre lake stocked with small carp and mixed coarse fish.
Address: Brickyard Farm, Busby, Stoop, Thirsk, YO7 4EH
Website: https://morndyke.co.uk/shepherds-huts/
Drove Lea Farm Shepherd’s Hut – Titchfield Fareham
Drove Lea Farm offers a shepherd’s hut in a private meadow with views over a small carp lake, giving you that classic peaceful glamping feel with water right there in front of you. There are no fishing lakes on site but it is next door to a fishery with 5 lakes to choose from.
- Accommodation: Luxury shepherd’s hut in its own private meadow with comfortable facilities.
- Area: Hampshire countryside near Titchfield Abbey, good for coastal day trips and rural walks.
Address: Drove Lea Farm, Mill Lane, Titchfield, Fareham, Hampshire, PO15 5DX
Website: https://www.hampshireshepherdshuts.co.uk/
Meon Springs Shepherd’s Huts – East Meon Hampshire – Trout fishing
Meon Springs is a well-established outdoor venue offering shepherd’s huts as a comfortable base for activities, including fishing on site. It’s a good option if you want a hut break where you can mix fishing sessions with countryside exploring.
- Accommodation: Shepherd’s huts designed as a comfortable glamping base for a short break. The property also has yurts and a campsite.
- Area: South Downs setting near East Meon with plenty of walking routes and rural pubs.
- Fishing lake: Fishing is available on site as part of the Meon Springs venue. Trout fishing is available as catch and keep or catch and release
- Fishing school: Learn to fly fish while you are there with taster sessions to full days coaching available to book.
Address: Whitewool Farm, Whitewool Lane, East Meon, Petersfield, GU32 1HW
Website: https://www.meonsprings.com/shepherds-huts